
- Knowledge Base
- Time Clocks & Kiosk
- Instruction Guides
-
Latest Release Notes
-
Getting Started
-
My Portal
-
Time & Attendance Configurations
-
Timesheets
-
Schedule Configurations
-
Schedules
-
Human Resources
-
Time Off Configurations
-
Time Off
-
Reports/Exports
-
Employee Management
-
Integrations
-
Platform Configurations
-
Time Clocks & Kiosk
-
Mobile App
-
Job Costing
-
Dashboard
-
Pay Period
-
Left Nav
-
Groups
-
Notification Preferences
-
Time and Attendance
-
New Left Nav & Global Settings
-
User Access
Xenio F1000 Instruction Guide
| Table of Contents |
|
What's in the box
 |
 |
| Xenio F1000 | QR Code (Coming Soon) | ||
 |
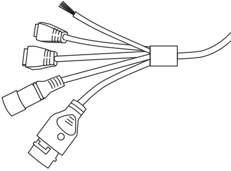 |
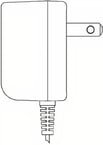
| Power Adapter | Connection Wires |
Accessories |
|
| Wall Mounting Bracket | 1x |
| Mounting Plate | 1x |
| Wall Plug | 4x |
| Self-tapping Screw | 4x |
| M5 Screw | 4x |
| M3 Screw | 2x |
Installation
- Drill holes on the wall or another surface according to the mounting plate.
- Use four supplied self-tapping screws to secure the mounting plate on the wall.
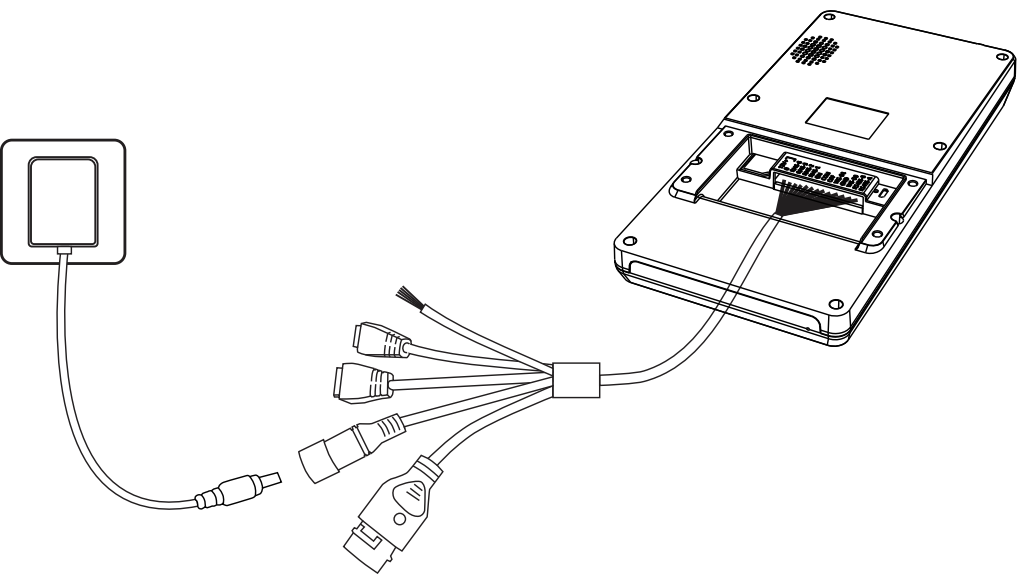
- Route the cables through the mounting plate and bracket's cable hole and connect them to the wiring terminals.
- Plug the wiring terminals into the device and use four supplied M5 screws to secure the bracket on the device.
- Align the device with the mounting plate and buckle them together, and use two supplied M3 screws to secure the device on the mounting plate.
- Adjust the tilt angle of the device according to your actual needs.
- Plug the green wiring terminals into the device.
- Connect the power adapter and network cable (if applicable).
Time Clock Initial Setup
- First, the Time Clock Device must be added to the software.
- Once the Xenio F1000 is powered on, you will be prompted to begin the Initial Setup.
- See Time Clock Initial Setup for further instructions.

Web App Configuration
![]() From your Workeasysoftware account:
From your Workeasysoftware account:
- Learn how to assign Administrators and Employees to the time clock.
- Learn how to adjust the brightness, audio, and more.
Enrollment
Select an enrollment method for instructions:
Clocking In/Out
Select a clocking method for instructions:
- How to Clock In/Out with Facial Recognition
- How to Clock In/Out with a Proximity Card
- How to Clock In/Out with a PIN #
Troubleshooting & Assistance
Are you having connection issues?
- Try the Time Clock Connection Helper
- If you need assistance, contact us at (888) 783-1493. Please be ready to provide the Serial number of your Xenio F1000 time clock, which is found on the back of the device.
- Create a ticket describing the issue and include the serial number of your Xenio F1000 time clock at https://www.workeasysoftware.com/resources/submit-a-ticket.