- Knowledge Base
- Time Clocks & Kiosk
- Time Clock Initial Setup
-
Latest Release Notes
-
Getting Started
-
My Portal
-
Time & Attendance Configurations
-
Timesheets
-
Schedule Configurations
-
Schedules
-
Human Resources
-
Time Off Configurations
-
Time Off
-
Reports/Exports
-
Employee Management
-
Integrations
-
Platform Configurations
-
Time Clocks & Kiosk
-
Mobile App
-
Job Costing
-
Dashboard
-
Pay Period
-
Left Nav
-
Groups
-
Notification Preferences
-
Time and Attendance
-
New Left Nav & Global Settings
-
User Access
How to Add a Time Clock Device
To connect a time clock device to the cloud and begin operations, you must first add it to WorkEasy Software. Here are the steps:- Log in to Workeasy Software.
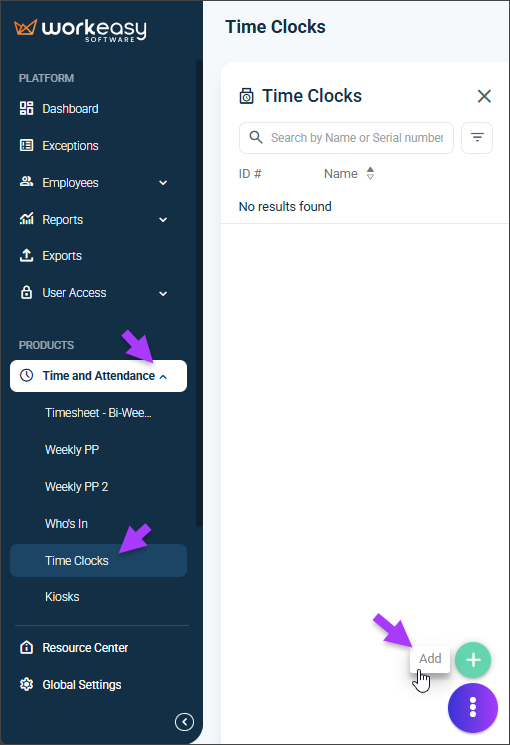
- Under Products, click Time and Attendance > Time Clocks > the ellipsis (⋮) > Add.
- Enter the details and click Save to register the device. If later you need to update the name, click the ellipsis (⋮) > Edit, make your changes, and click Save.
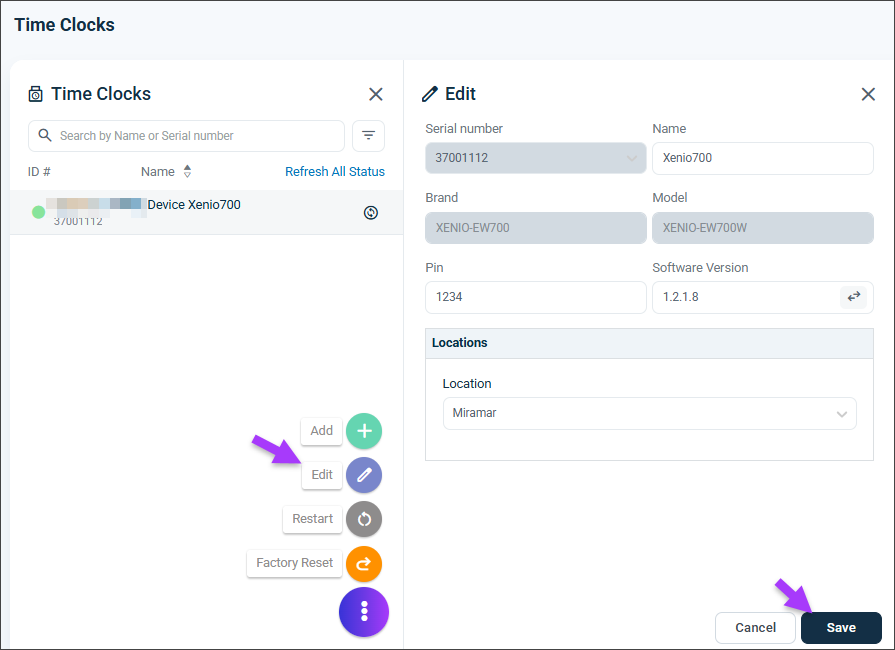
Device Details
- Serial Number – Populates from the drop-down menu.
- Name – Appears in certain reports and features.
- Brand – Populates automatically.
- Model – Populates automatically.
- PIN – Used to access the clock’s menu.
- Software Version – Automatically populates with the current version on the device.
- Location – The assigned location determines the time zone for the device.
You're all set! 😊👍
If you have questions, please call us at (888)783-1493, email support@workeasysoftware.com, or Submit a Ticket.