- Knowledge Base
- Time Clocks & Kiosk
- Instruction Guides
-
Latest Release Notes
-
Getting Started
-
My Portal
-
Time & Attendance Configurations
-
Timesheets
-
Schedule Configurations
-
Schedules
-
Human Resources
-
Time Off Configurations
-
Time Off
-
Reports/Exports
-
Employee Management
-
Integrations
-
Platform Configurations
-
Time Clocks & Kiosk
-
Mobile App
-
Job Costing
-
Dashboard
-
Pay Period
-
Left Nav
-
Groups
-
Notification Preferences
-
Time and Attendance
-
New Left Nav & Global Settings
-
User Access
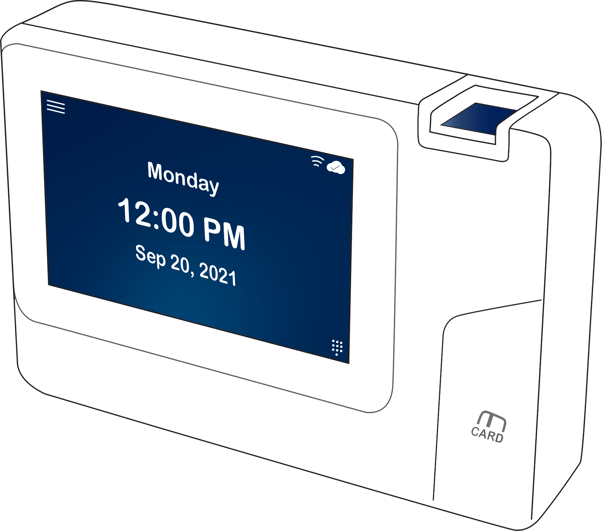
Xenio 500 Instruction Guide
Setup and instructions for the Xenio 500 time clock device
| Table of Contents |
|
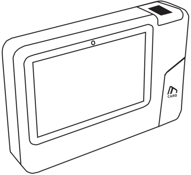
What's in the Box
 |
 |
| Xenio | QR Code | ||
 |
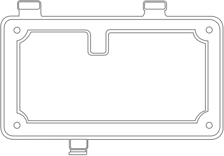 |
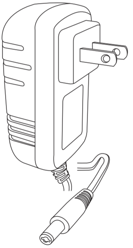
| Power Adapter | Mounting Plate |
| A) | B) | C) |
 |
| 4x | 4x | 1x |
| Screw | Wall Anchors | Wall Mount Screw |
 |
| Cover Plate |
Installation
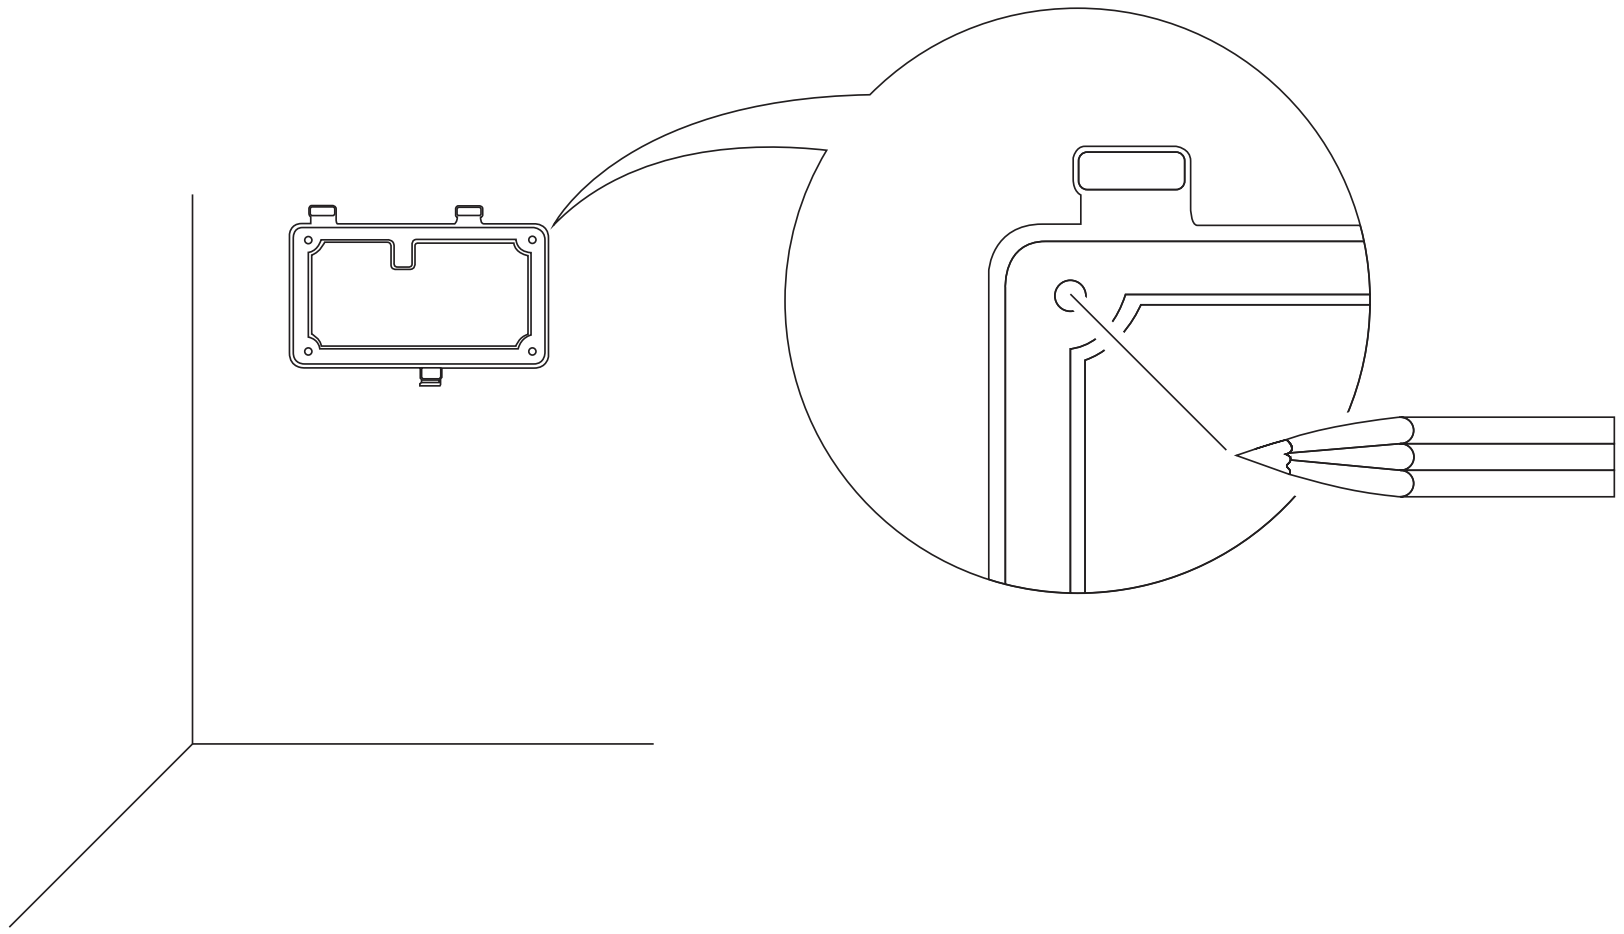
1. Using a pencil, mark 4 screw holes on the wall.
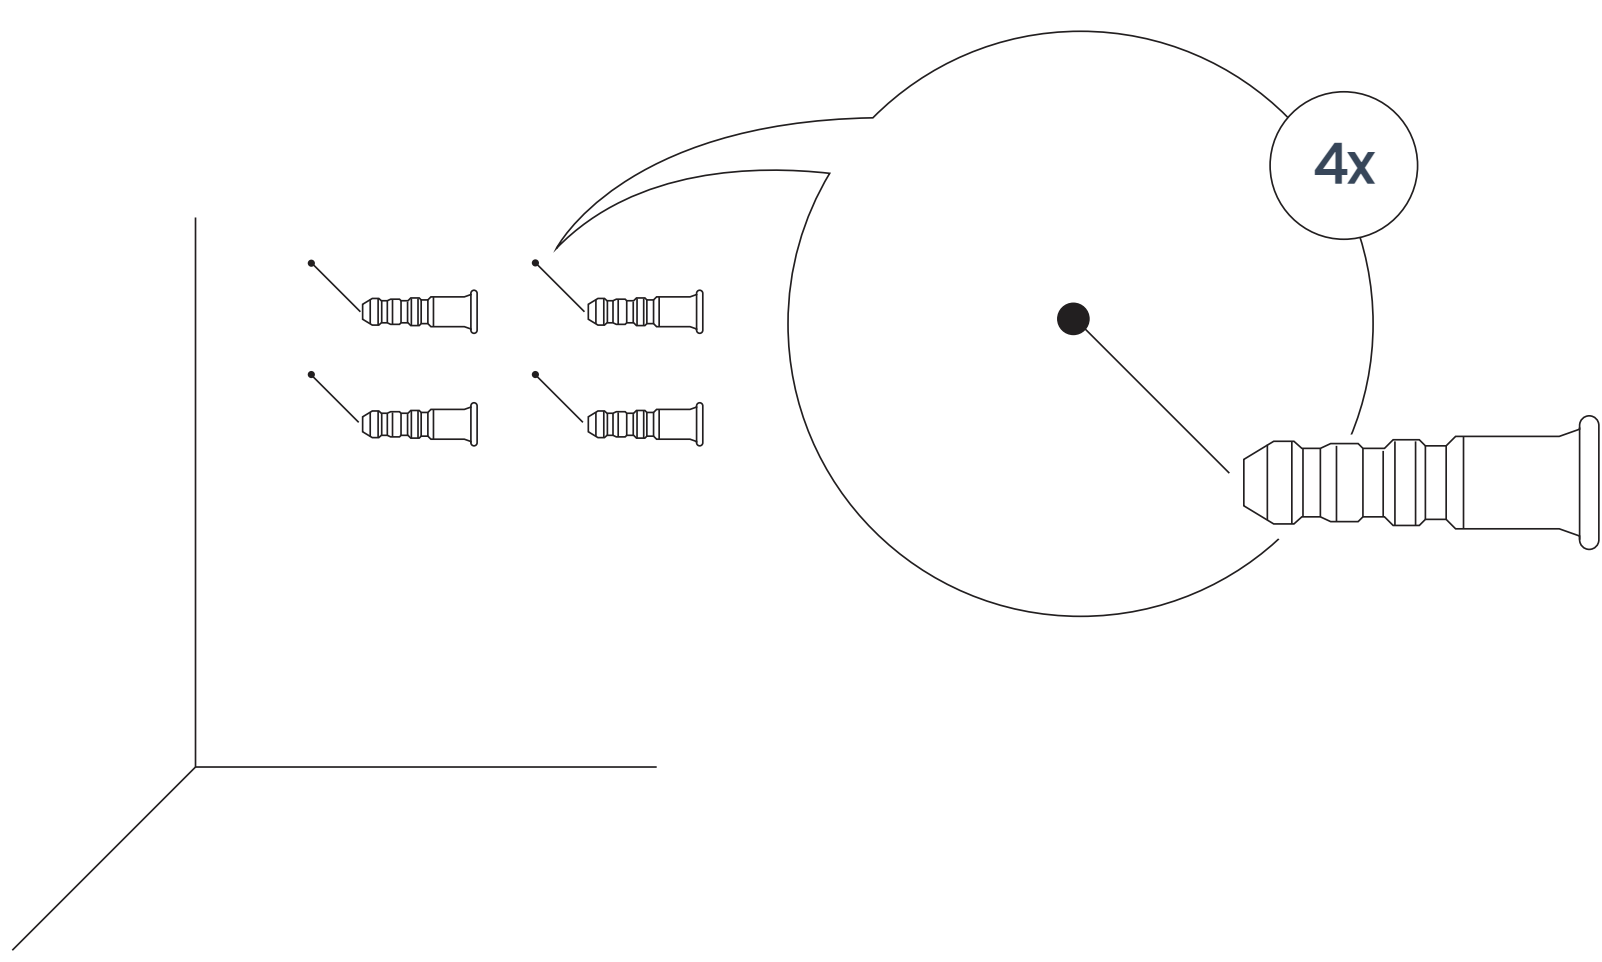
2. Insert Wall Anchors (B) into the 4 holes that you marked in Step 1.
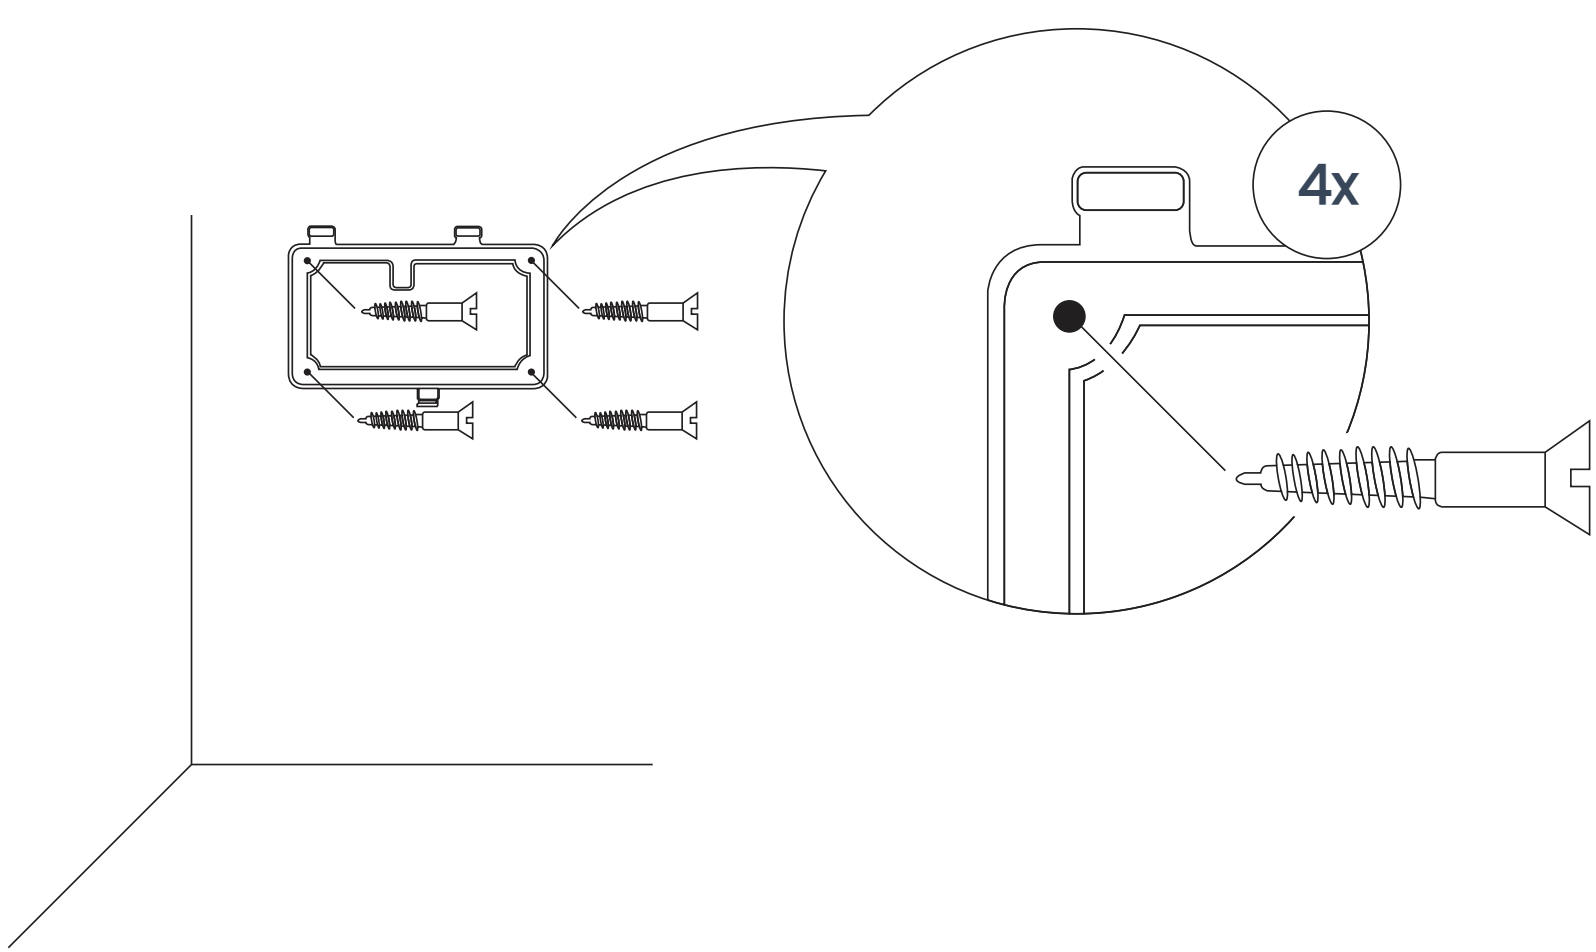
3. Align your Wall Mount with the 4 Wall Anchors (B) and secure the mount to the wall with the 4 Screws (A) provided.
4. *When connecting to your network via ethernet: Run the cables (ethernet cable not provided) inside or outside of the wall.
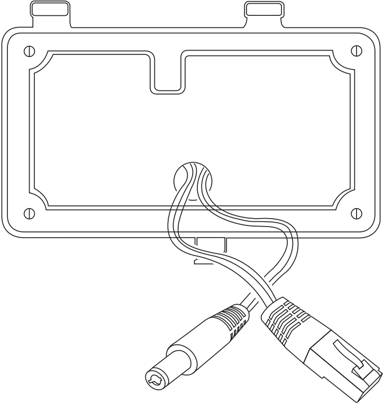
5. Connect your ethernet cable to an ethernet wall jack, router, or switch. Insert the Power Adapter into an electrical receptacle.
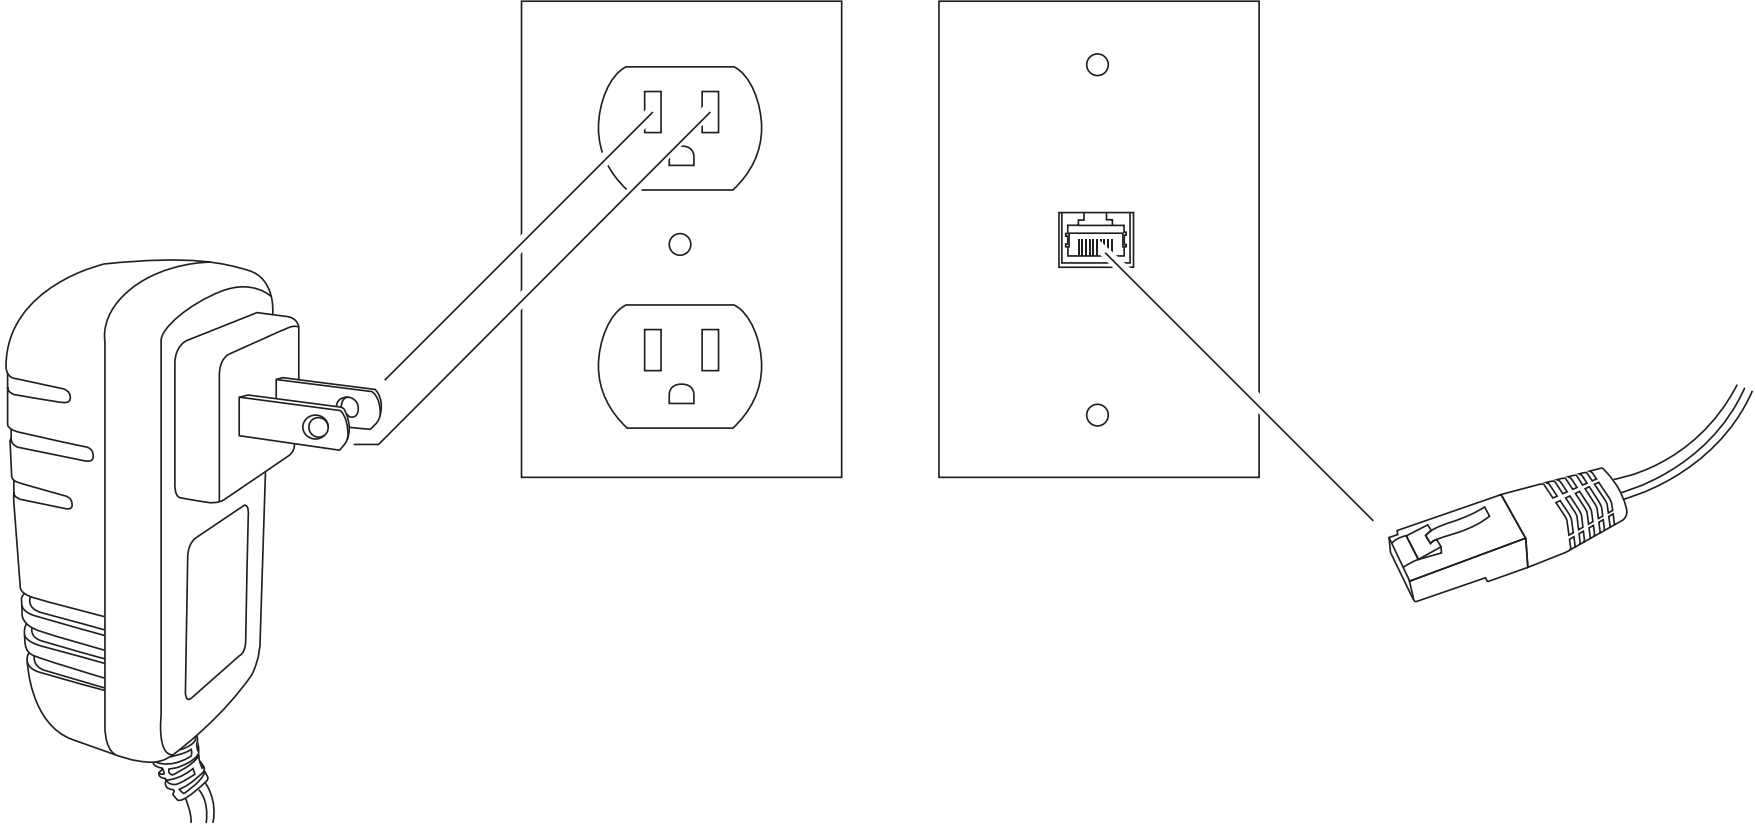
6. Attach the other end of the ethernet cable and the Power Adapter to the Xenio.
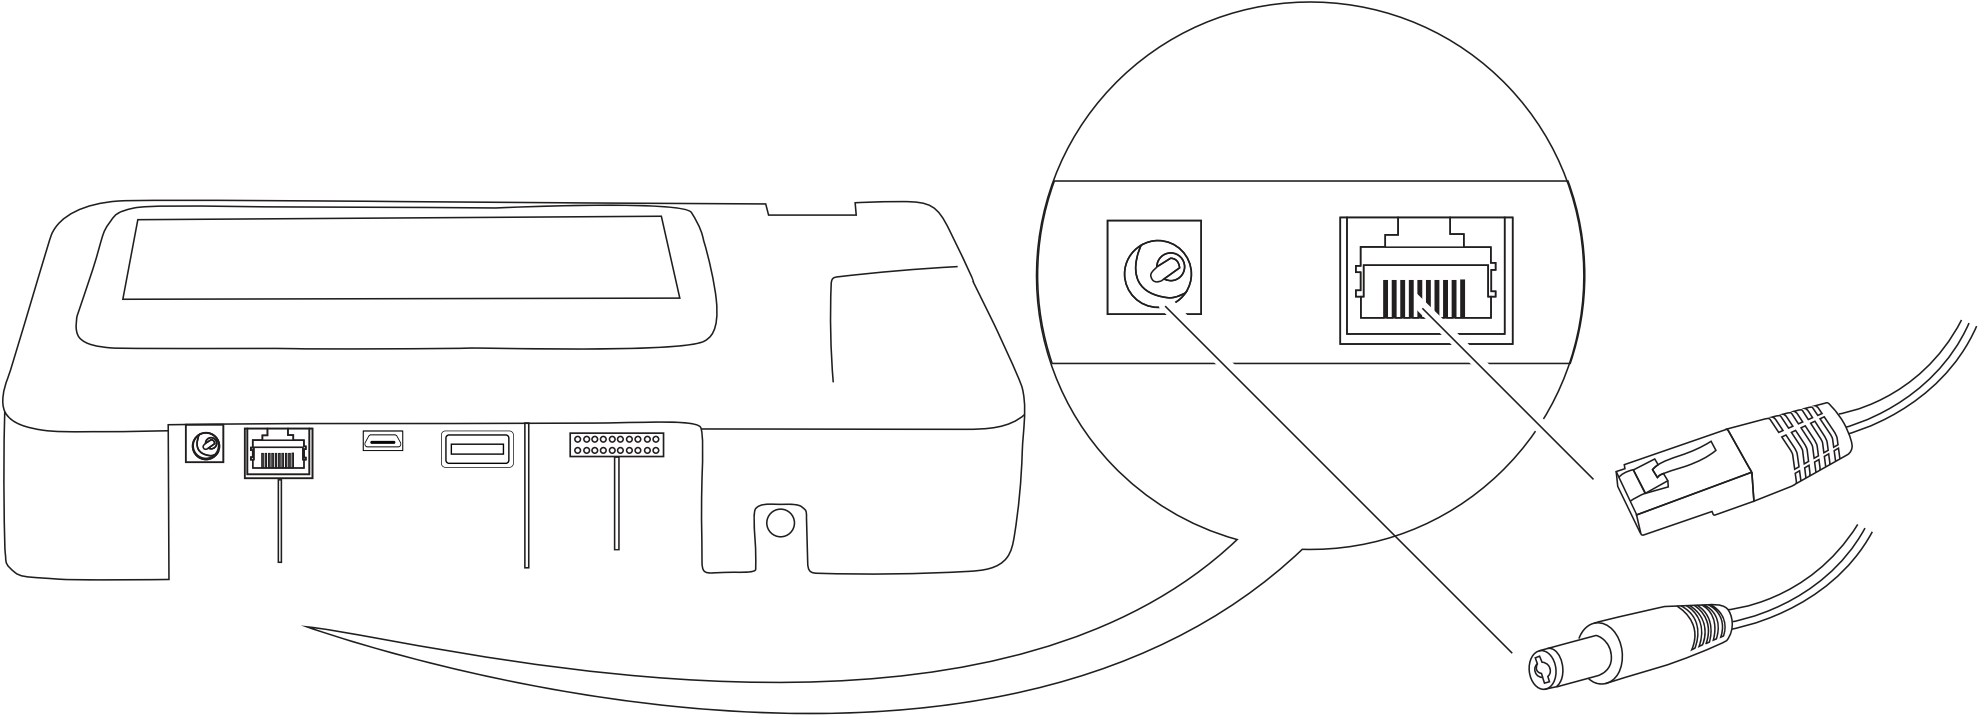
When connecting power to the Xenio via POE (Power Over Ethernet), DO NOT connect the provided power adapter.
An ethernet cable is not required when using Wi-Fi.
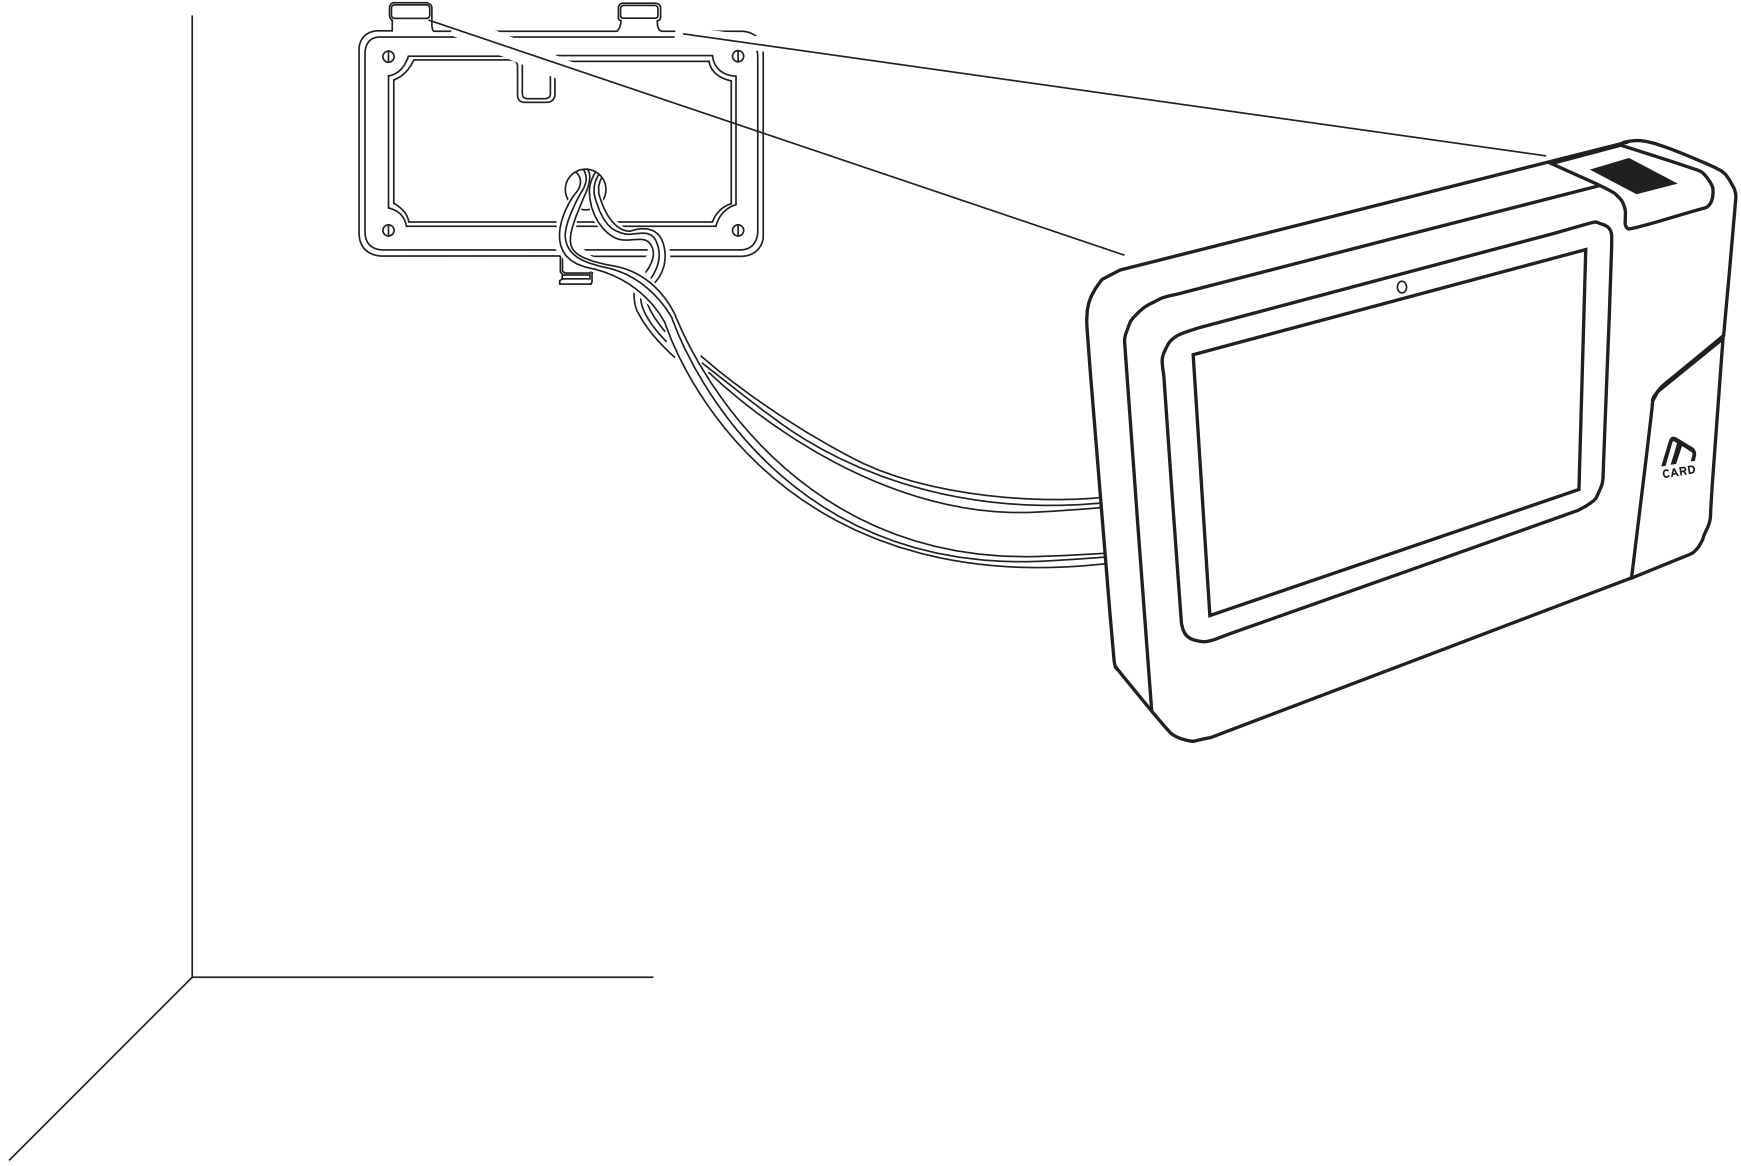
7. Attach the Xenio to the Wall Mount.
8. Insert the Cover Plate (optional) into the grooves.
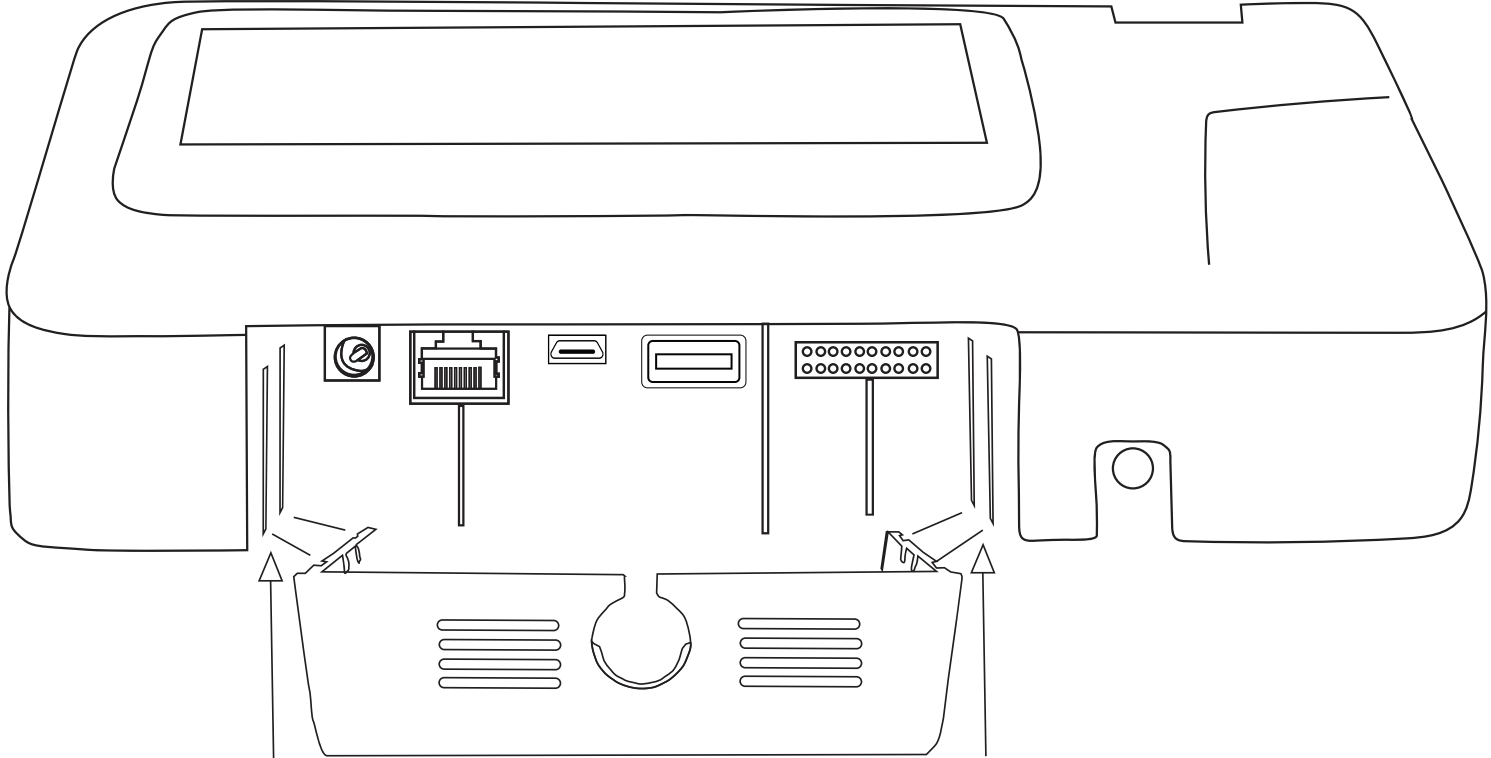
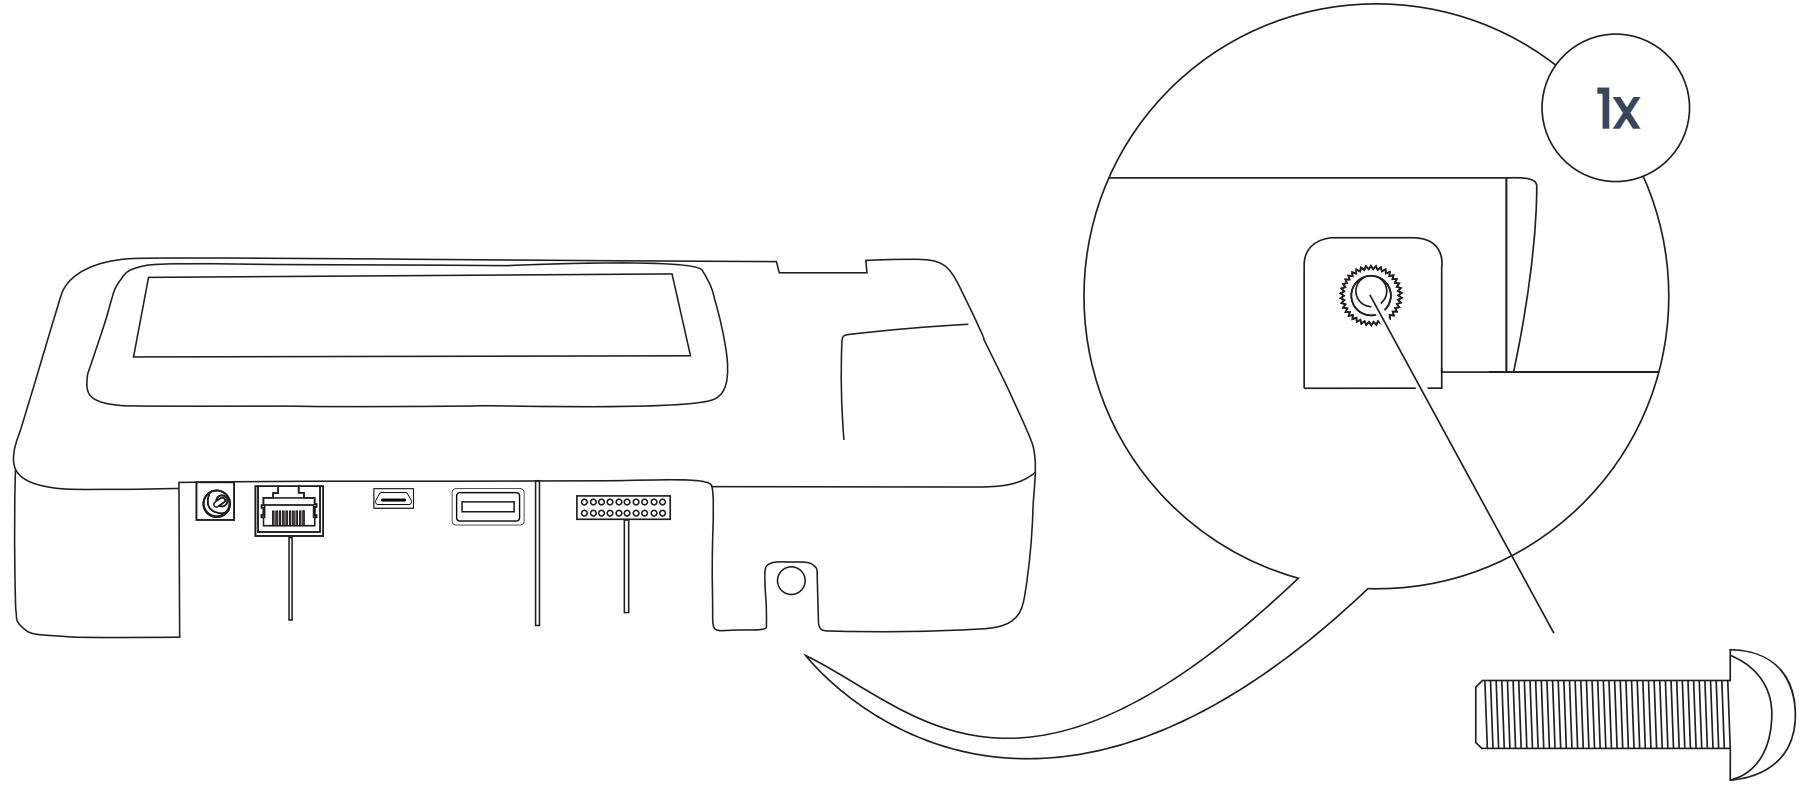
9. Secure the Xenio to the Wall Mount by fastening the Wall Mount Screw (C).
Time Clock Initial Setup
First, the Time Clock Device must be added to the software.
Once the Xenio 500 time clock is powered on, you will be prompted to begin the Initial Setup.
- See: Time Clock Initial Setup for further instructions.

Web App Configuration
![]() From your Workeasysoftware account:
From your Workeasysoftware account:
- Learn how to assign Administrators and Employees to the time clock.
- Learn how to adjust the brightness, audio, and more.
Enrollment
Select an enrollment method for instructions:
Clocking In/Out
Select a clocking method for instructions:
- How to Clock In/Out with Fingerprints
- How to Clock In/Out with a Proximity Card
- How to Clock In/Out with a PIN #
Troubleshooting & Assistance
Having connection issues? Try the Time Clock Connection Helper
Contact Support: (888) 783-1493
Create a Ticket: https://www.workeasysoftware.com/resources/submit-a-ticket
To help us help you, please provide the Serial # of your Xenio 500 time clock.
