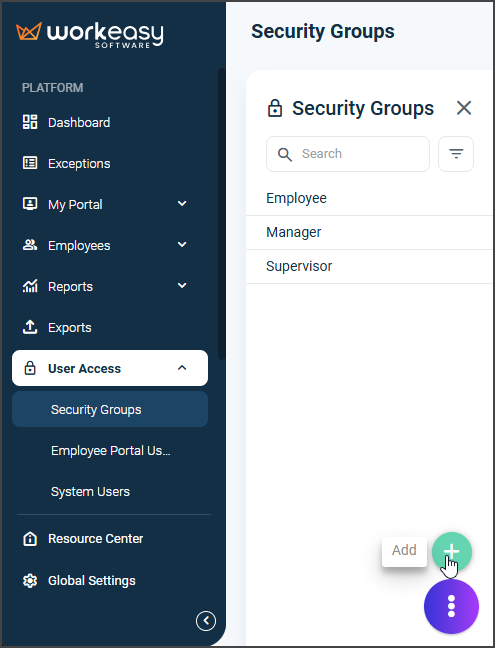
Security groups control which features users can access in WorkEasy based on assigned roles and group visibility. Use this guide to configure security groups correctly and apply group-based access rules across your organization. If you need additional groups created, please contact support.
How group selections affect access
Important: Security groups use group-based restrictions, such as location, department, and position, to control:
Which employees a user can view.
Which actions they can perform, based on assigned privileges.
When assigning a security group to a user, make sure they are not part of a group used to restrict access. For example, if a user is assigned to the Manager position and the group is restricted to the Manager position, that user will have access to their own profile and data within the group.
Group-based access rules
If no group is selected: The user will have access to all employees in the system.
If one or more groups are selected: At least one location must be included for access control to function.
Groups are combined using AND logic: If you select Miami and Sales, only employees assigned to both will be visible.
Access is limited to selected groups: For example, if the group includes only Miami, the user cannot assign someone to New York.
Companies with multiple supervisor or managers for specific Location or Departments may require to create different security groups to limit the access to their specific group of employees
Add a security group
Go to User Access > Security Groups and click Add.

Enter the group name in the Name field. Then select the applicable privileges and groups.
Click OK, then click Save. Refresh the page.
Reminder: Groups > Location establishes criteria and limits the range of privileges to just the selected locations. Select at least one location to avoid giving users unrestricted access.
For instructions on how to create new locations, see Add Locations.
Edit a security group
Click the security group you want to edit, then click Edit.
Make changes to the selected privileges or groups as needed.
Click Save.
If you have questions, call us at (888) 783-1493, email [email protected], or submit a ticket.