This article shows how to add shifts to the scheduler. When a shift is published, the system knows when an employee is expected to work and the shift duration. Managers can receive alerts if employees arrive late, leave early, or are absent.
In addition to assigning shifts to specific employees, you can also create open shifts. These are unassigned shifts you can fill later based on availability or coverage needs.
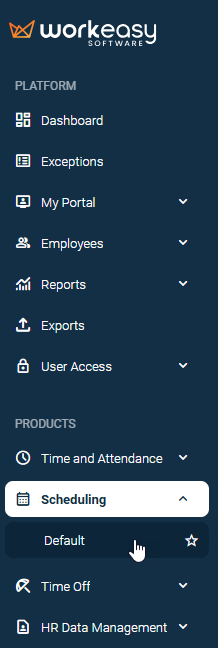
In the left navigation, open the module menu. If your company uses Time and Attendance, select Calendar. If your company uses Scheduling, select a calendar.
.png?sv=2022-11-02&spr=https&st=2026-01-23T20%3A12%3A11Z&se=2026-01-23T20%3A24%3A11Z&sr=c&sp=r&sig=LwhOXLE%2BtA2lL0H5w5N3I9rX0JgH5%2BZLRnn2DO10qOg%3D)
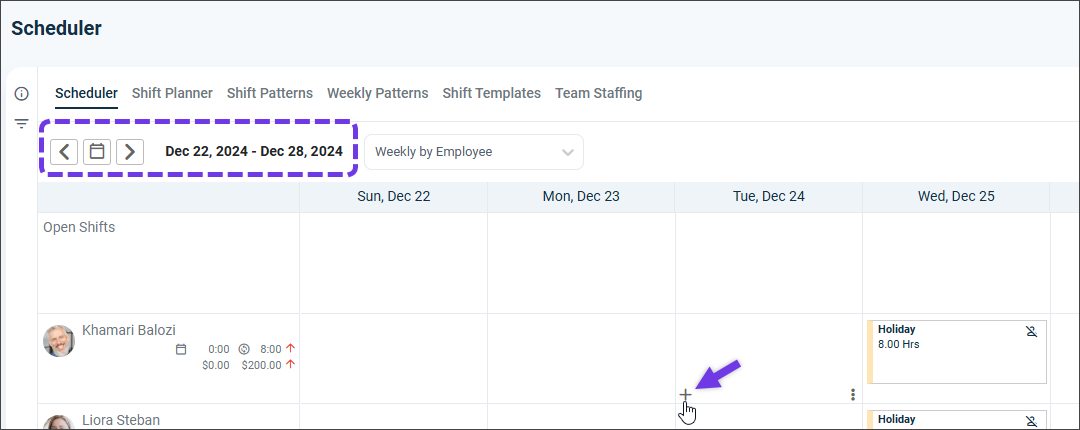
Go to the Scheduler tab.
Select the applicable pay schedule. Hover over the day in the Scheduler, then click the + icon. For example, add a shift for December 24.
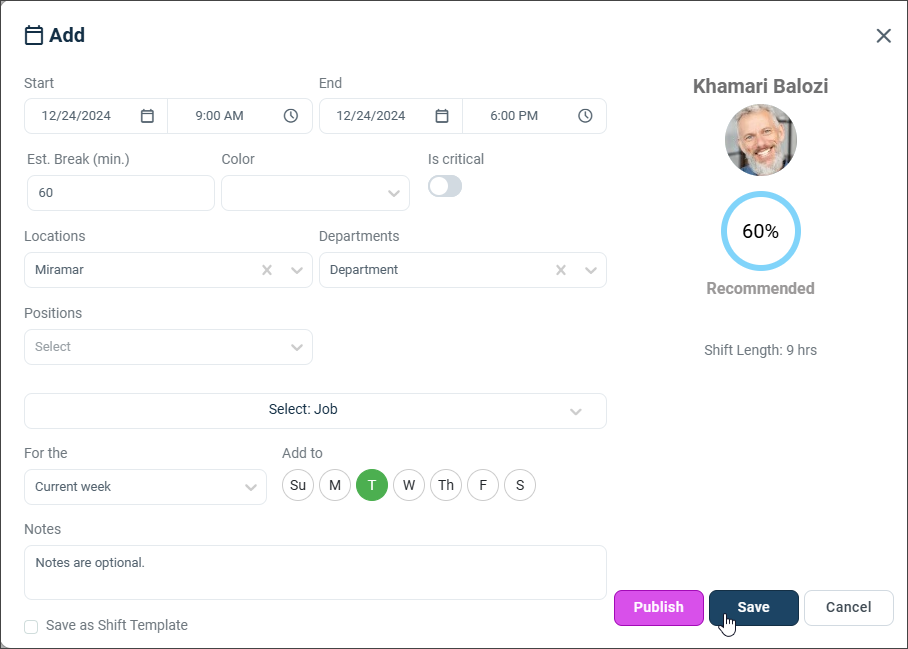
Configure the shift fields.
Start: The starting date and time of the shift.
End: The ending date and time of the shift. This marks when the employee’s work period ends.
Locations, Departments, Positions: Categorize the shift by your organizational structures. These values are defined in Global Settings > Scheduling > Schedule criteria and tied to a Schedule plan.
Is critical: Marks the shift as high priority for monitoring and staffing.
Est. break (min.): The break duration in minutes, used for compliance and planning.
Notes: Additional details shown in the shift and in related alerts.
Save as shift template: Saves this configuration for quick reuse by drag and drop.
Click Save.
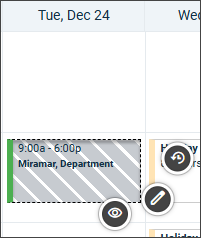
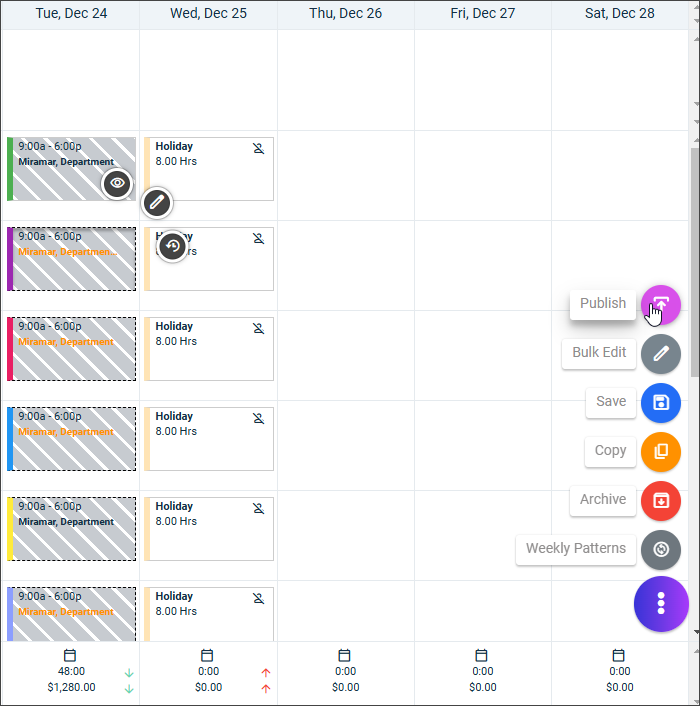
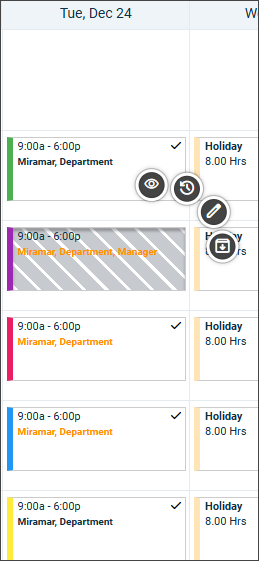
The change is now in draft mode. Draft rows have a gray background. After saving the draft, you can choose Details, Edit, or Reset if needed.
You can copy shifts across multiple days and employees within the same week. Hold the Alt key, then click and hold the left mouse button on the original day. Drag to the destination. A blue background means the change is allowed. Orange means it is not allowed.
To edit an individual employee’s shift details, click the pencil icon next to the shift.
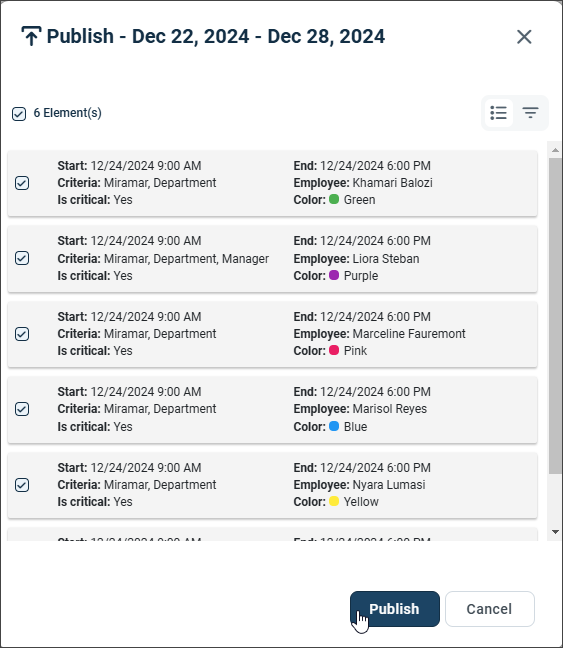
When finished, click Publish.
Review the changes, then click Publish again to confirm.
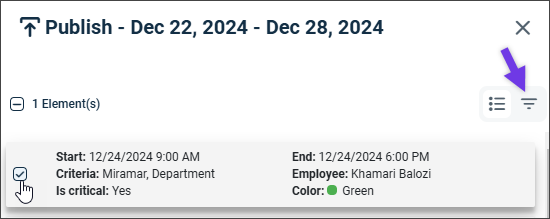
When reviewing, you can select and filter employees.
After publishing, valid rows turn white. If a row remains gray or shows an alert, resolve any issues, such as missing qualifications for the shift.
Once published, you can select Details, History, Edit, and Archive.
Employees receive an email with the shift details after the schedule is published.
To add or change scheduling criteria
Go to Global Settings > Employee Scheduling > Schedule criteria. 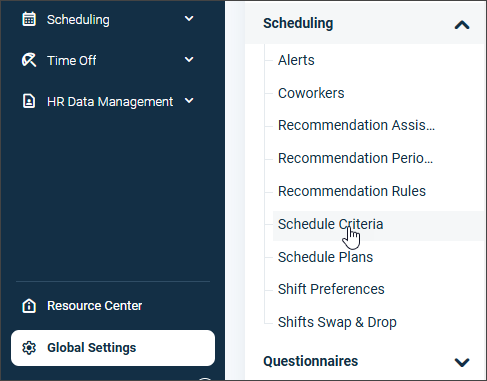
If you have questions, please call (888) 783-1493, email support@workeasysoftware.com, or submit a ticket.