Security groups control access to specific features by granting or restricting privileges. These instructions will guide you through creating security groups based on the original setup. If you require additional groups, don't hesitate to contact us for assistance.
Adding a New Security Group
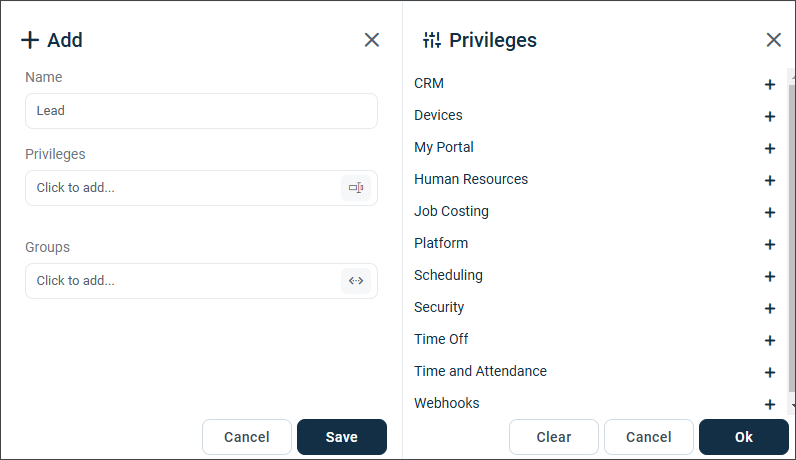
Click User Access > Security Groups > Add.

Enter the new category in the Name field. Click the Privileges field and select the applicable privileges on the right-hand side. To add a location to this new security group, click the Groups, field and select the applicable Location.
Click Ok > Save.
Important❗
Groups > Locations sets conditions and restricts the scope of privileges to only the selected locations. We strongly recommend that you choose at least one location. Otherwise, users will have access to everyone in the company. You can go to How to Add Locations for instructions.
Editing a Security Group
If you wish to change the privileges of an existing security group, click the security group whose privileges you want to change, click Edit, and make the changes.
Follow the same instructions for adding a security group above.
You're all set! 🙂
If you have questions, please call us at (888) 783-1493, email [email protected], or submit a ticket.