- Knowledge Base
- Human Resources
- Document Center
-
Getting Started
-
My Portal
-
Time & Attendance Configurations
-
Timesheets
-
Schedule Configurations
-
Schedules
-
Human Resources
-
Time Off Configurations
-
Time Off
-
Reports/Exports
-
Employee Management
-
Integrations
-
Platform Configurations
-
Time Clocks & Kiosk
-
Mobile App
-
Job Costing
-
Dashboard (Widgets)
-
Release Notes
How to Assign Documents to Individual Employees
How to Assign Documents to Individual Employees
The Documents Tab must first be added to the Profile Designer to complete the instructions below. See: How to Add Documents to the Profile Designer
The Manage Employee Documents Privilege is required to manage employee documents.
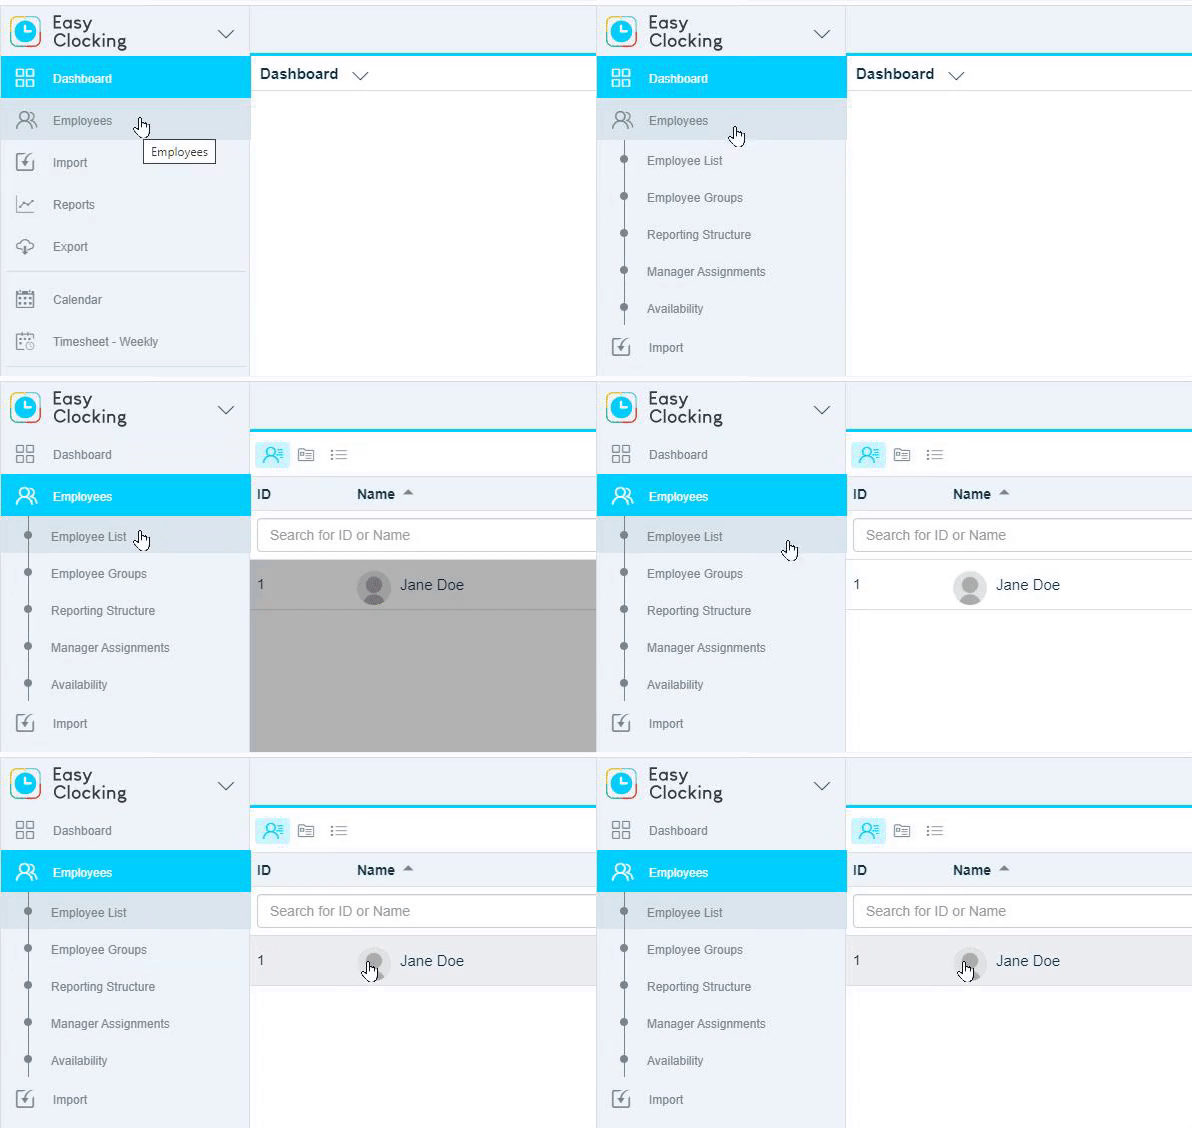
1. Click  in the Left Nav to expand the options, select Employee List, and select an employee.

2. Click Documents to open the Documents Tab

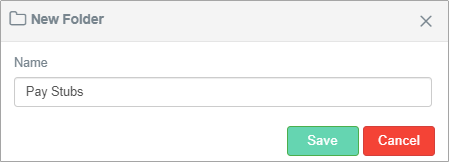
3. Click the Employee Documents Folder and select  to add a new Folder.


4. Name the new folder

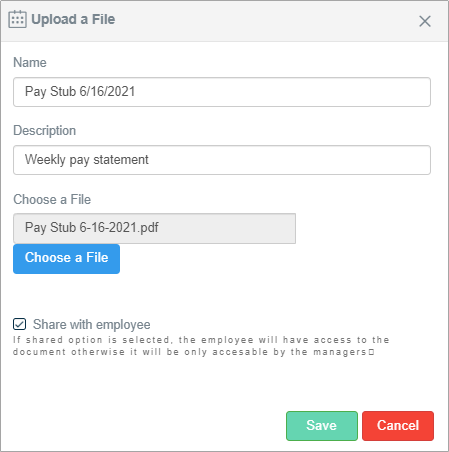
3. Click the newly added folder to open it and select  to upload a file.

4. Input the required information, upload a file, and click 

| Setting | Description |
| Name | Display name of the Document |
| Description | File Description |
| Choose a File | Select a file to be uploaded |
| Share with employee |
If Yes - Employee can view the document If No - Only managers can view the document |
* A new file will appear in the Document Explorer
