Before you can begin assigning jobs, projects, or clients in Job Costing, you’ll need to complete the initial setup. This defines how your organization will structure and manage job costing, whether at the job, project, or client level.
Follow these steps to configure your job costing structure:
Go to Global Settings > Job Costing > Initial Setup.
Select a Job Costing structure and click Next.
You can choose from four structure types:
Jobs: Track jobs within your company using different rates.
Project & Job:Add jobs to individual projects and track job costing at the project level.
Client | Project & Job: Assign projects to clients and track costs per client.
Client | Project & Task (Job): Assign projects to clients and segment jobs into tasks for detailed tracking.
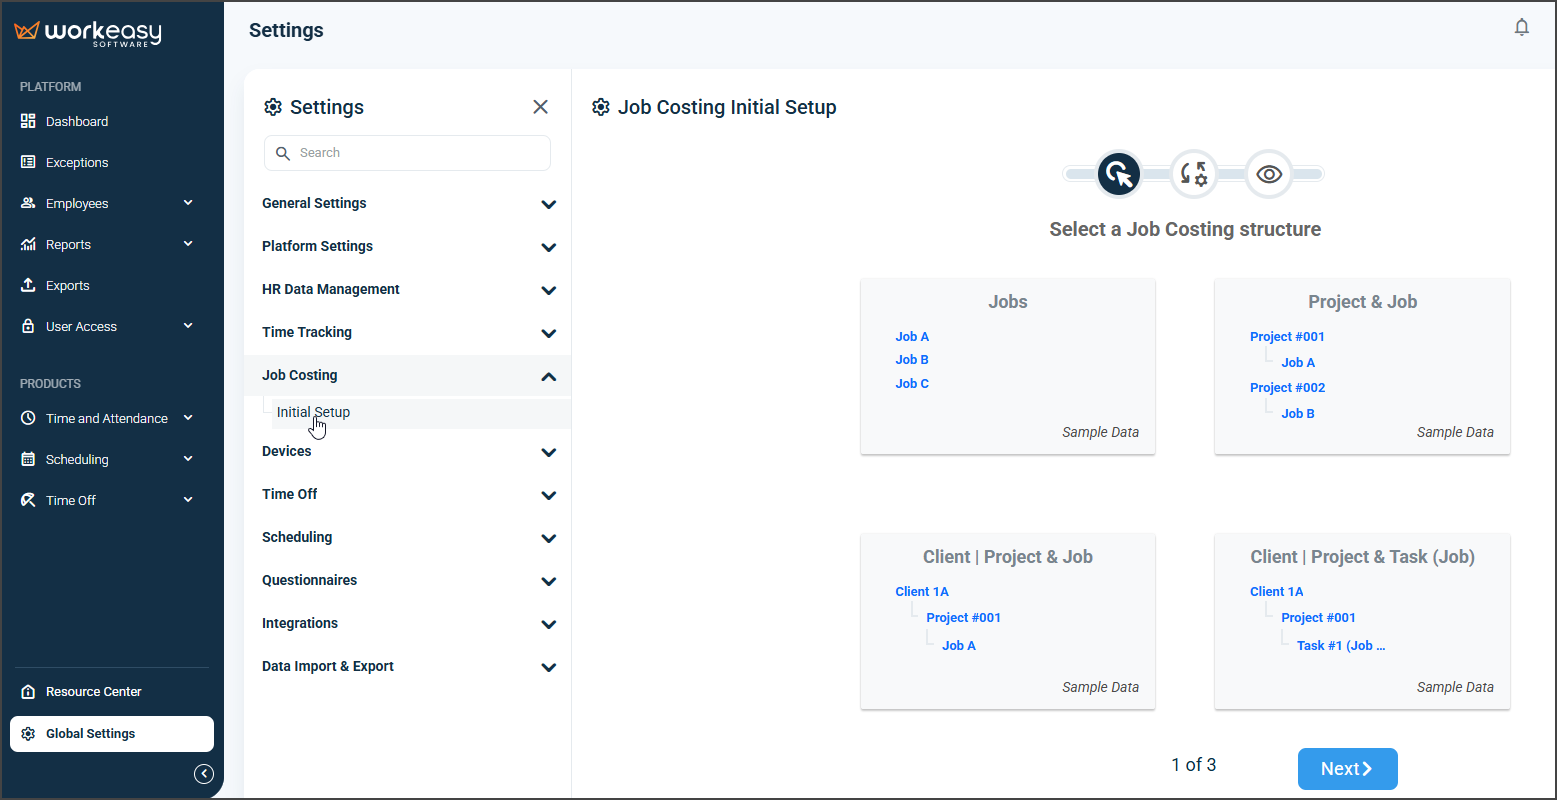
For this example, we’ll use the Jobs structure.
Customize the names of your job levels (optional):
Rename Job to (e.g., role, position)
Rename Jobs to (e.g., roles, positions)
Click Next, then click OK to complete the setup.
.png?sv=2022-11-02&spr=https&st=2026-02-02T16%3A12%3A16Z&se=2026-02-02T16%3A23%3A16Z&sr=c&sp=r&sig=R5LiqoFyFRaqy1zN5Y5N3PybJvXoI%2FBoxjhTyygSY04%3D)
Your selected structure now appears under Job Costing.
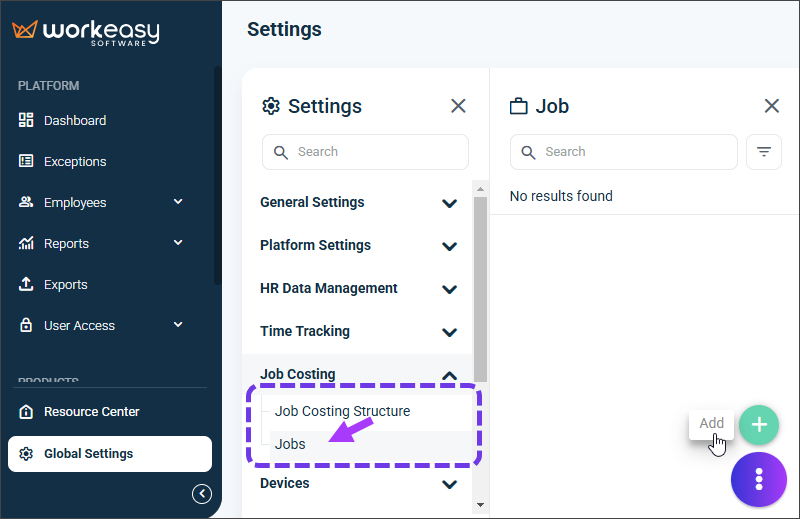
Add jobs to your structure
Navigate to Job Costing > Jobs.
Click Add, enter the job details (title, rate, etc.), and click Save.
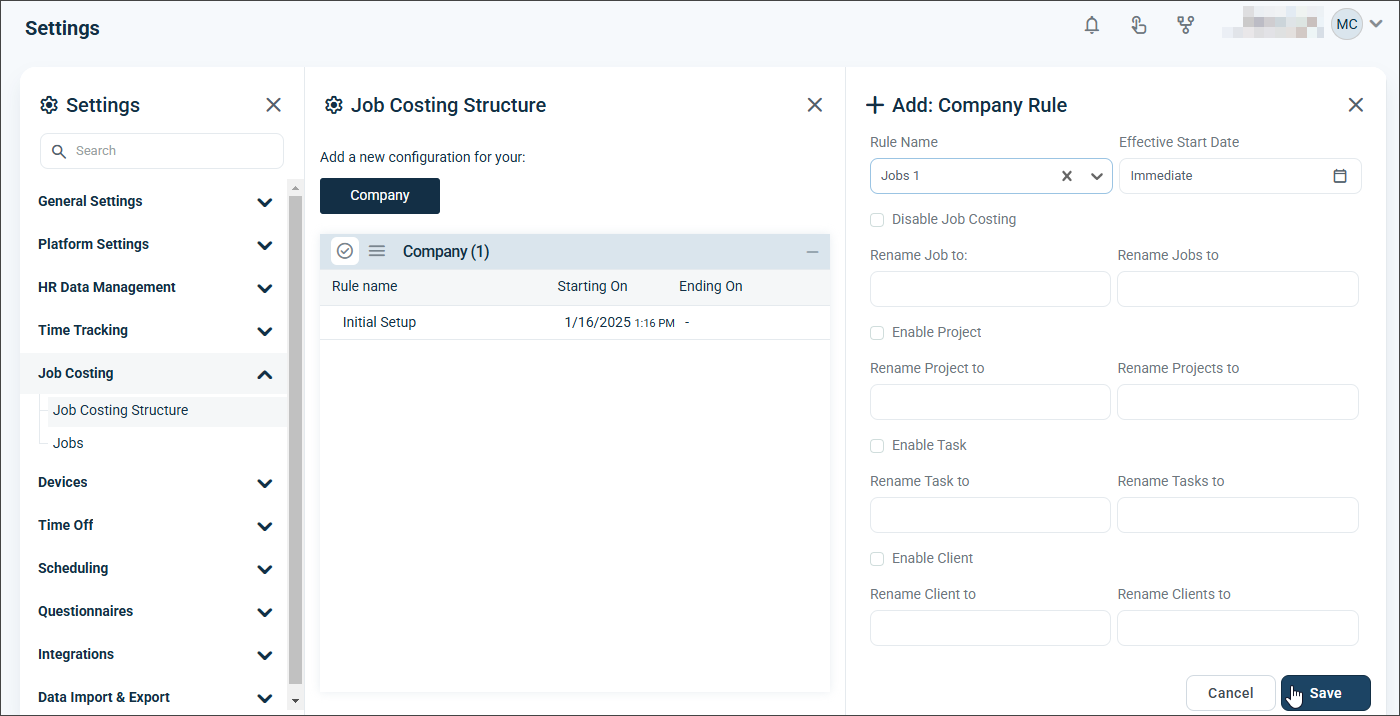
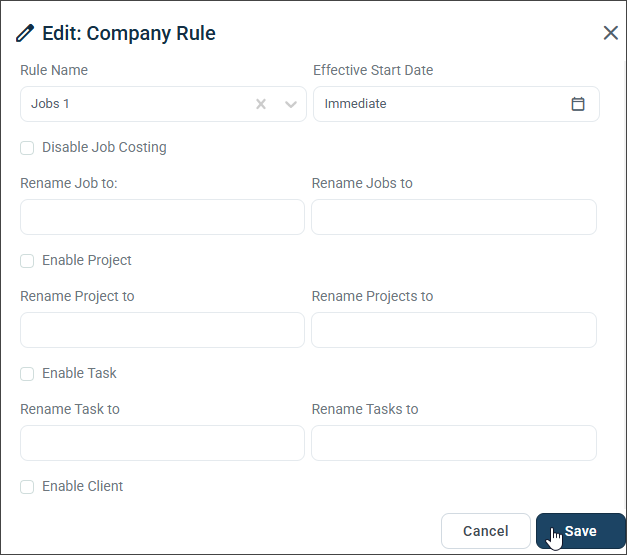
Create a job costing structure rule
In the Job Costing section, click Company and create a rule, for example, “Jobs 1.”
Click Save. This new rule will replace any previous rule.
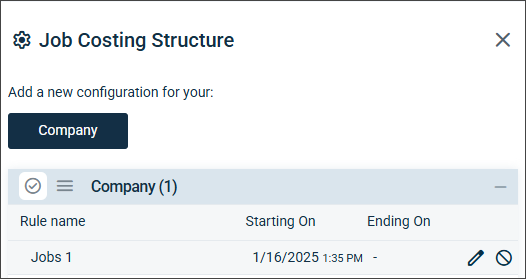
Archive or Restore a Job Costing Rule
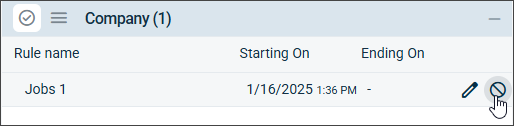
To archive a rule:
Go to Job Costing > Job Costing Structure.
Click the delete icon for the rule name.
Confirm by clicking Yes. The rule is archived, not permanently deleted.
To restore an archived rule:
Click the list icon to view archived rules.
Click the pencil icon next to the rule you want to reinstate.
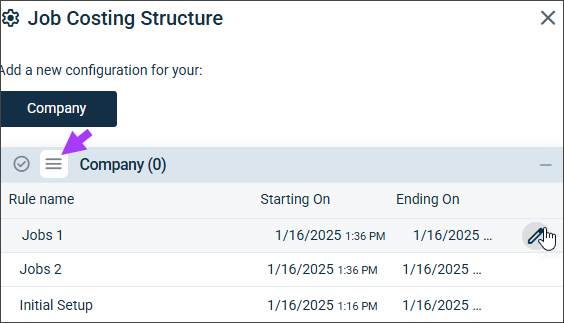
Click Save.
If you have questions, contact us at (888) 783-1493, email support@workeasysoftware.com, or submit a ticket.