Prerequisite
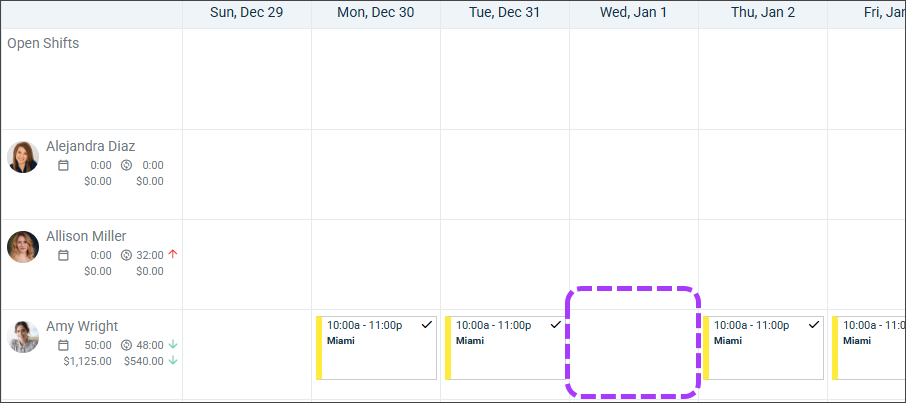
Shifts must first be added: Add and Assign Shifts to the Scheduler
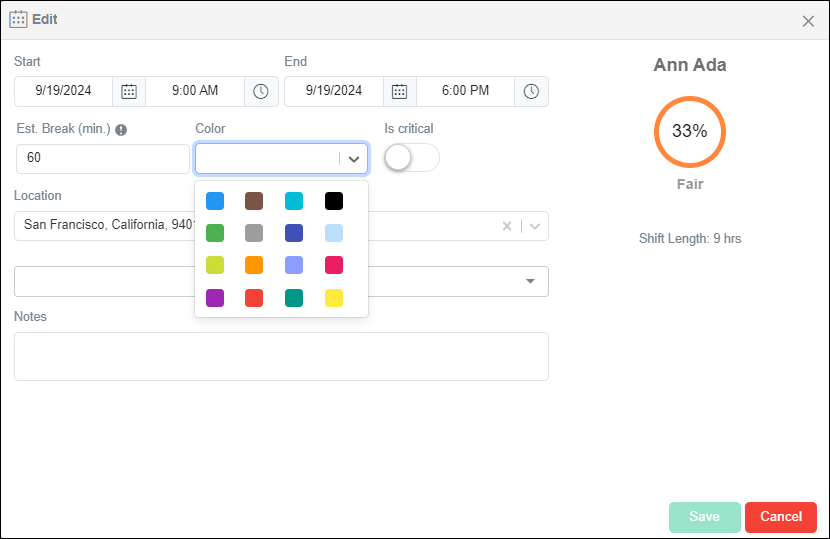
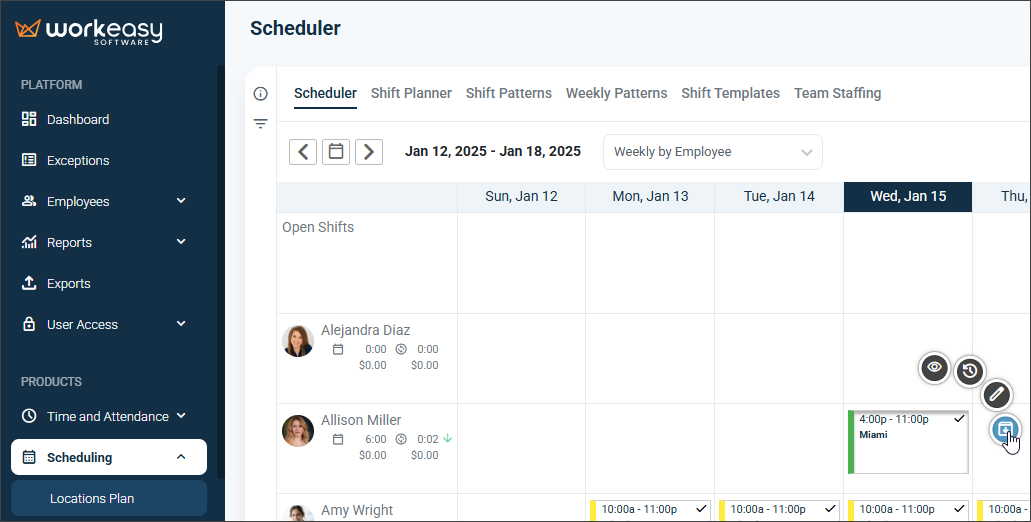
Editing a shift
Once a schedule draft is saved, click the pencil to edit it.
Make the applicable selections and click Save.
Once you're done, click Publish.
Review the items and click Publish.
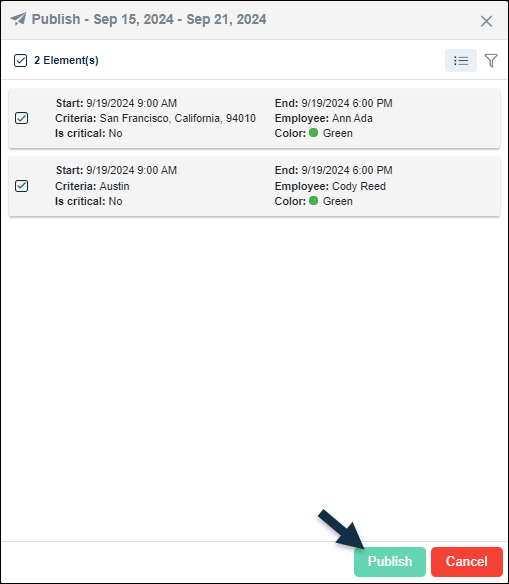
The area that was grayed out (Draft) before publishing turns a solid white (Published).
Deleting (Archiving) a shift
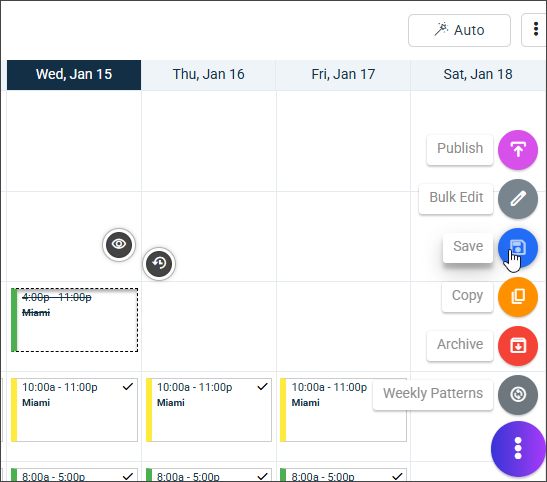
Select a shift and click the folder icon to "delete" it.
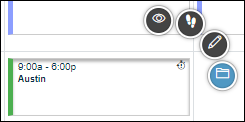
The shift will be archived, not deleted, in case it needs to be recovered later.
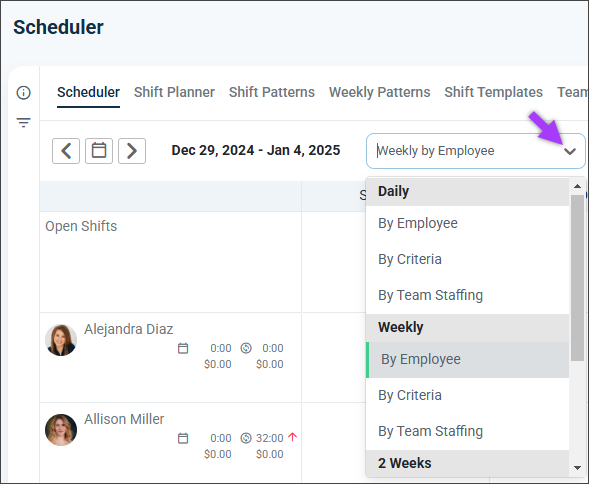
By employee
Select the view Daily, Weekly, or 2 Weeks By Employee.
Find the shift you wish to archive.
Click Archive.
Click the ellipsis > Save.
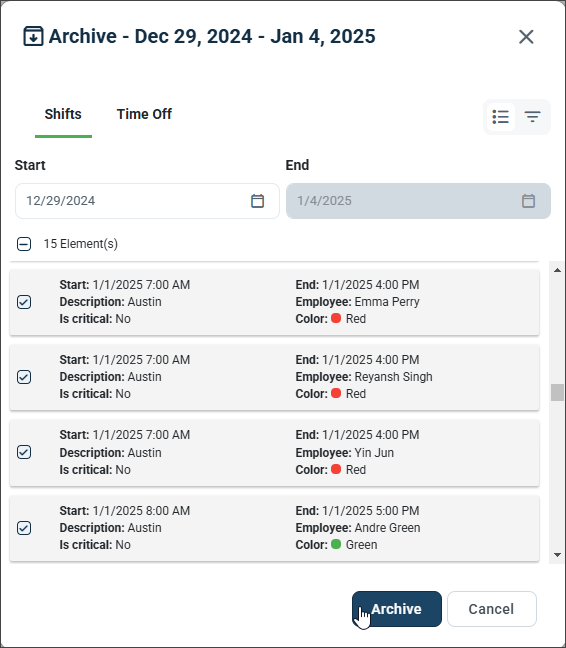
In bulk
Navigate to the corresponding shift period.
Click the ellipsis > Archive.
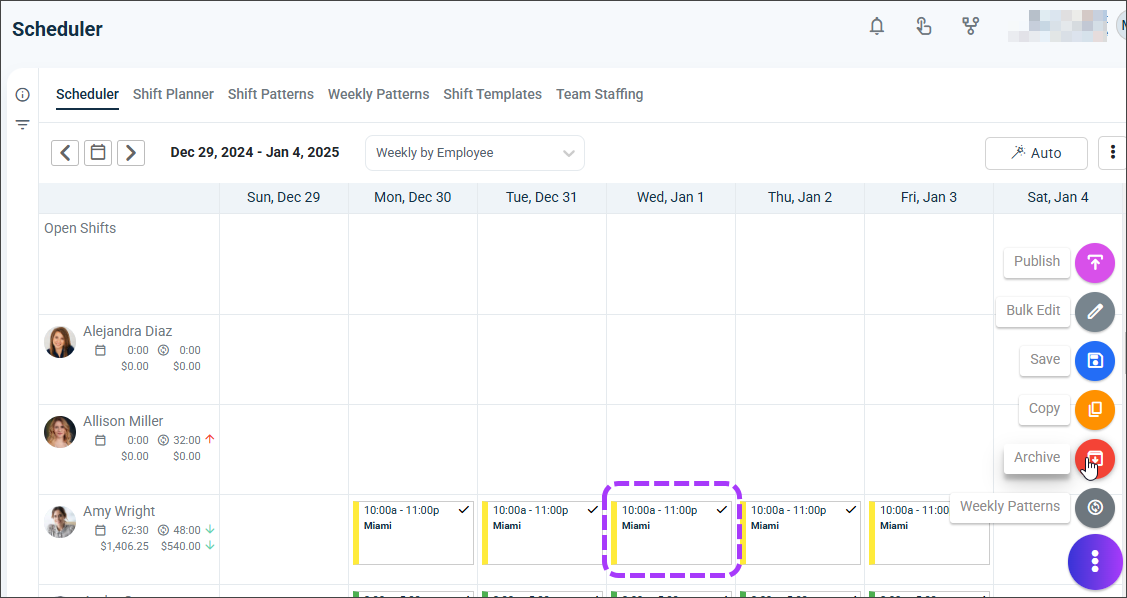
Select the applicable employees.
Click Archive and confirm.

A successfully archived shift will show an empty field in the corresponding time slot. Note: Employees will receive a notification when a shift is archived.